Facebook Pages missing in Manage Pages during integration.
Troubleshooting Missing Facebook Pages in CRM Integration
If your Facebook Pages are not appearing when you try to connect them to your CRM, the issue is typically related to the permissions granted to the CRM application within your Facebook settings. Follow the steps below to verify and correct these permissions.
Step 1: Access Facebook Settings
Begin by logging into the Facebook account that manages the missing Pages. In the top-right corner of Facebook, click on your profile picture to open the menu.
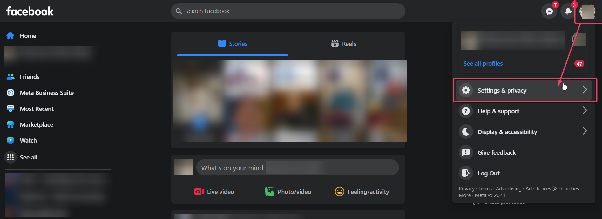
From the dropdown menu that appears, navigate to Settings & Privacy.
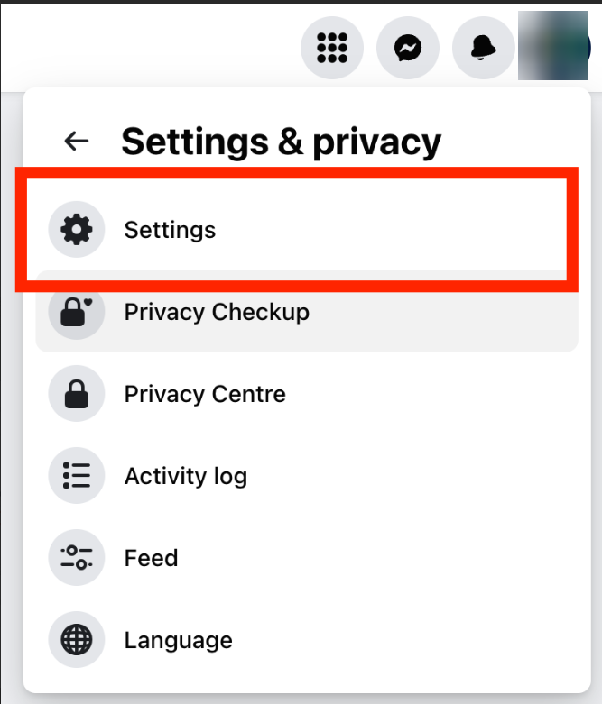
Step 2: Navigate to Business Integrations
Within the Settings area, locate and click on the Settings option. On the left-hand sidebar of the Settings page, find and select Business Integrations. This section lists all third-party applications, like your CRM, that have access to your Facebook account.
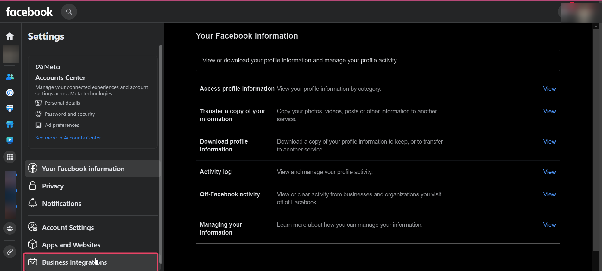
Step 3: Locate the CRM Application
In the Business Integrations list, find the entry for your CRM platform. Click on the View and edit link associated with it to review its current permissions.
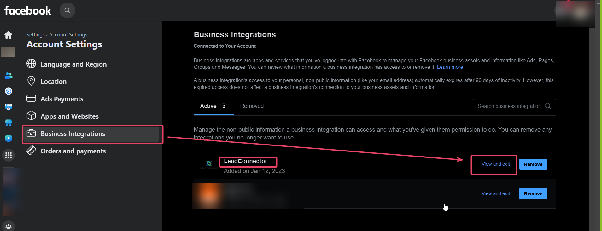
Step 4: Review and Enable Permissions
You will be taken to a detailed permissions page. It is crucial that all permission toggles on this page are switched On. Scroll down to ensure you enable every available permission, including those related to Page access and management.
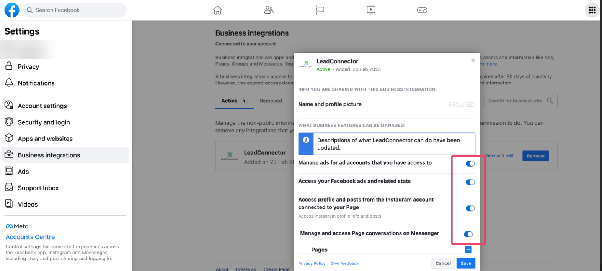
Important: Only the Facebook user who originally connected the Page will see it in the CRM's dropdown menu, and they must have an Admin role on that Facebook Page. You will not see Pages linked to other Facebook accounts.
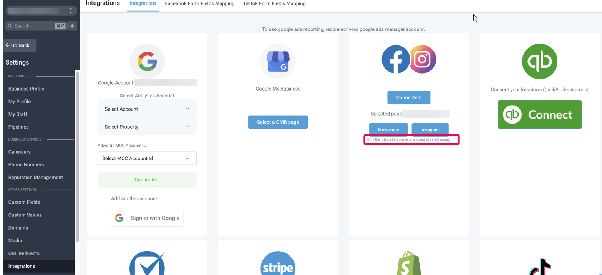
Step 5: Select Your Pages
After enabling all permissions, a list of the Facebook Pages you manage should appear with checkboxes. Ensure you check all boxes for the Pages you wish to be accessible in your CRM, even if you are not integrating them into a specific account immediately.
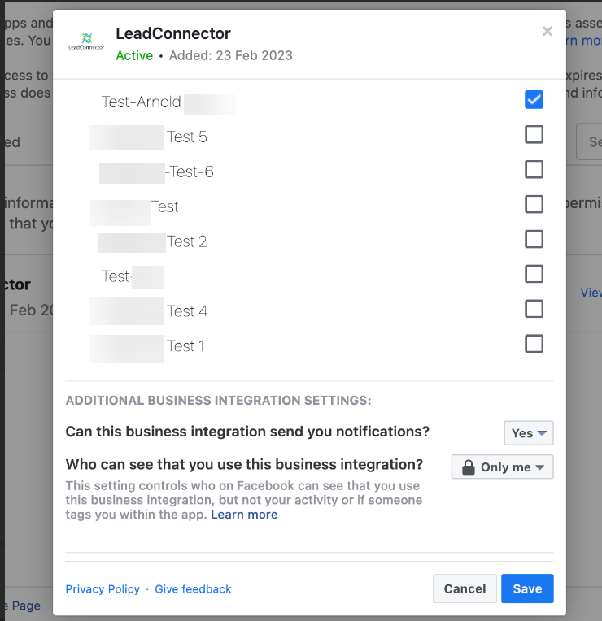
Critical Note: If any Pages are already checked, do not uncheck them. Removing a checkmark will sever that Page's connection with your CRM agency, which could disrupt existing workflows.
Step 6: Save Changes
Once you have confirmed all necessary permissions are on and the correct Pages are selected, click the Save button at the bottom of the page to apply your changes.
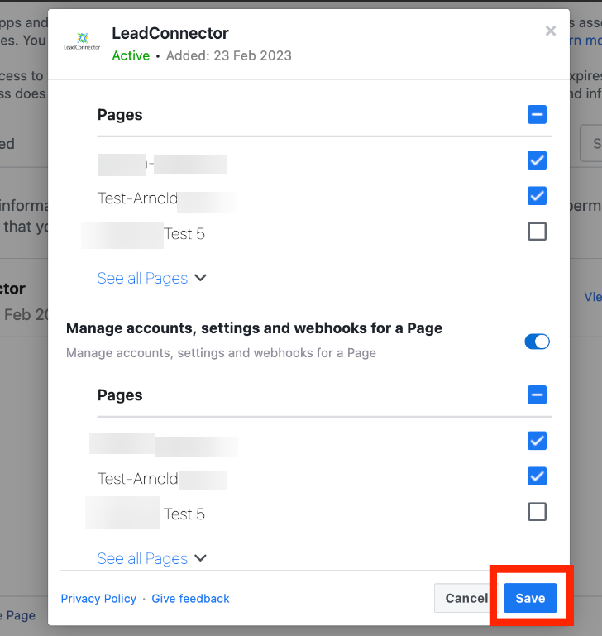
After saving, return to your CRM and attempt the Facebook Pages integration again. The Pages you selected should now be visible in the dropdown menu during the connection process.