How to use Custom Fields for Opportunities
How to Use Custom Fields for Opportunities
Custom fields in the CRM allow you to capture and track unique information specific to your business’s sales process for opportunities. By adding custom fields, you can go beyond the standard details like value and stage, recording data such as contract type, competitor information, or specific product interests directly within each opportunity.
This guide will walk you through creating custom fields and using them to enrich your opportunity records.
Creating a Custom Field
Before you can use a custom field, you must first create it in your CRM's settings. This is a one-time setup process.
- Navigate to the settings area of your CRM. This is typically found in the main navigation menu.
- Look for a section related to managing your database or custom fields. It might be labeled "Custom Fields," "Settings," or "Opportunity Settings."
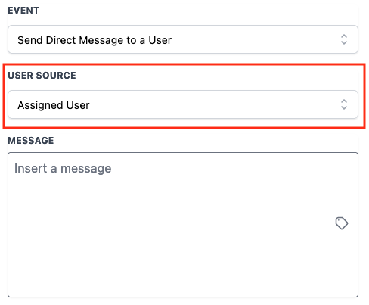
- Within the custom fields management area, locate the option to create a new field specifically for opportunities.
- Select the type of field you want to create. Common types include:
- Text: For short answers like a project name.
- Number: For numerical values, such as a custom budget field.
- Dropdown: Provides a list of predefined options for users to choose from, ideal for stages like "Approval Status."
- Date: To capture a specific calendar date.
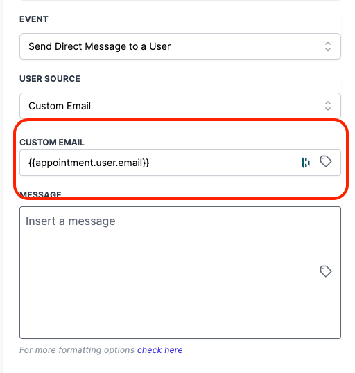
- Give your field a clear, descriptive name that will be easily understood by your team (e.g., "Competitor," "Contract Length," "Decision Maker").
- If you selected a dropdown type, you will need to define the list of available options.
- Save the new custom field. It will now be available to use on all opportunity records.
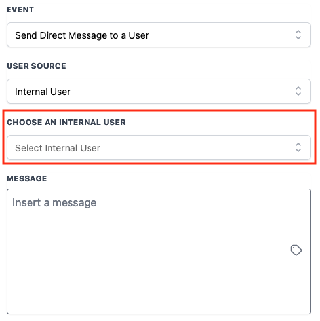
Using Custom Fields on an Opportunity
Once a custom field is created, you can populate it with data for individual opportunities.
- Open an existing opportunity or create a new one.
- Look for the section on the opportunity record where custom fields are displayed. This is often in a details panel or a dedicated tab.
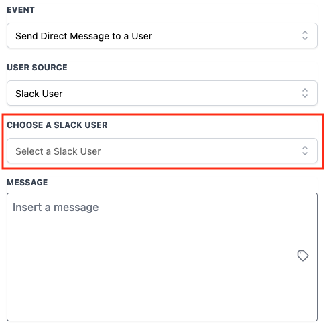
- Click into the custom field you want to update. The interface will change based on the field type (a text box for text, a calendar for date, etc.).
- Enter or select the appropriate information for that opportunity.
- Save the opportunity record. The custom field data is now stored and will be visible anytime you or your team views this opportunity.
Viewing and Filtering by Custom Fields
The real power of custom fields is using the data to organize and segment your opportunities.
You can typically view all custom field data when looking at a list of opportunities or on individual records. More importantly, you can often filter your opportunity list based on the values in custom fields.
For example, if you have a "Competitor" dropdown field, you can filter your pipeline to show only opportunities where the competitor is "Company X." This helps in strategizing and prioritizing your sales efforts.
Best Practices for Using Custom Fields
- Plan Ahead: Think about the information that is critical to your sales process before creating many fields. A well-planned structure is easier to maintain.
- Use Descriptive Names: Name your fields clearly so any team member understands what data belongs there.
- Keep Dropdown Lists Manageable: If using dropdowns, avoid creating an excessively long list of options, as it can become cumbersome to use.
- Train Your Team: Ensure everyone on the sales team knows which custom fields to use and how to fill them out consistently for accurate reporting.