How to create a QR Code linked with Review Page
Creating a QR Code for Your Review Page
You can easily generate a QR code that links directly to a review page for your business. This is a great way to encourage customers to leave feedback. The process involves creating the code, customizing its appearance, and then downloading it for use.
Step 1: Access the QR Code Creation Tool
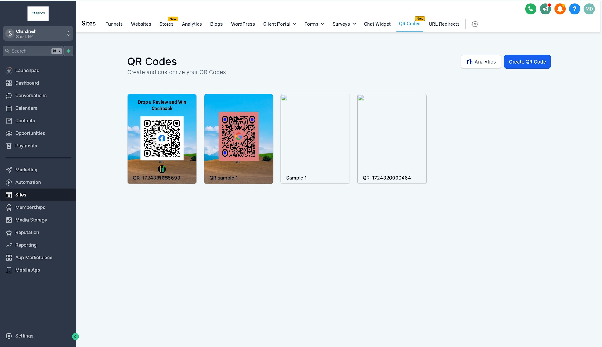
First, navigate to the Sites section within your CRM. From there, locate and select the option for QR Codes. On the QR Codes page, click the button to Create QR Code to begin.
Step 2: Name Your QR Code and Select the Review Link Type
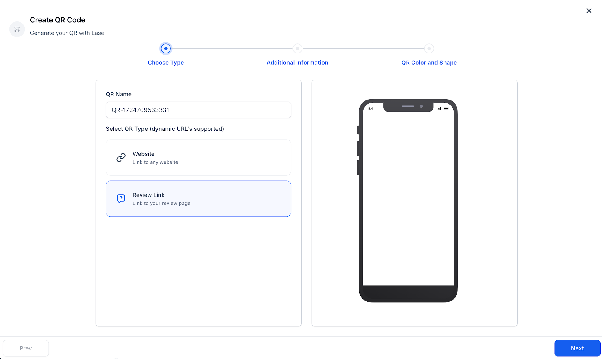
Give your QR code a descriptive name so you can easily identify it later. For the QR Type, select Review Link from the available options. This ensures the code will direct users to your review page. Once you've made these selections, click Next to proceed.
Step 3: Customize the Review Page Content
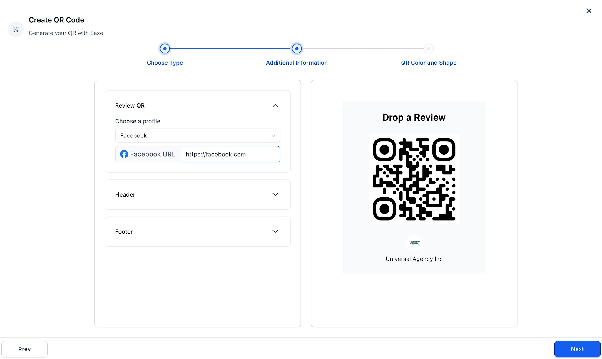
You will now see a preview of the review page that the QR code links to. Here, you can customize the header text that appears on the page. You also have the option to change the footer image to better match your branding.
Step 4: Design Your QR Code and Save It
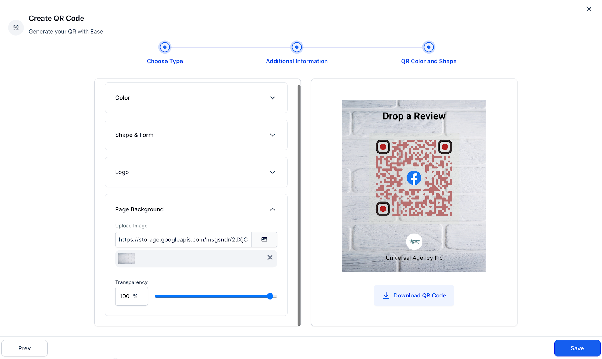
This step allows you to design the visual appearance of the QR code itself. You can customize its color, shape, and the logo displayed in the center. You can also set a background image if desired. Use the Test button to scan a preview and ensure it works correctly. When you are satisfied, you can download the final QR code as a PNG image file. Click Save to publish and store the QR code in your account.
Step 5: Viewing QR Code Analytics
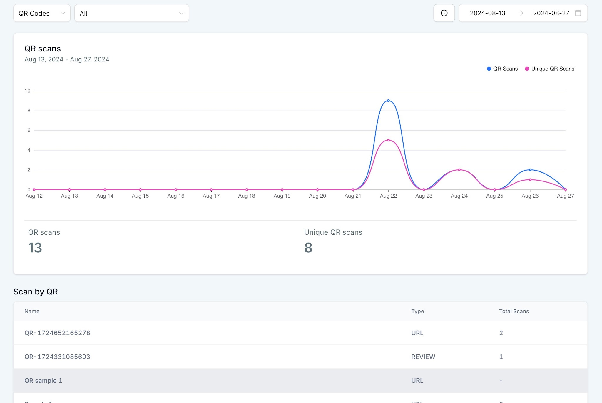
After you've published your QR code, you can track its performance. Return to the main QR Codes section and navigate to the Analytics area. Here, you'll find data for all your QR codes, including the total number of scans and the number of unique scans, helping you measure engagement.