How to use the Custom Webhook LC Premium Workflow Action
How to Use the Custom Webhook Premium Workflow Action
The Custom Webhook premium action is a powerful tool within your CRM that allows you to send data from a workflow to any external service or application in real time. You can configure the exact request format, including the destination URL, request method, authentication, and the data payload, enabling deep integrations without writing custom code.
Prerequisites: This is a premium feature. Agencies must first enable Premium Triggers & Actions in their agency settings. Once enabled, sub-accounts receive an initial allocation of free executions. For existing sub-accounts, rebilling may need to be configured manually within the agency portal.
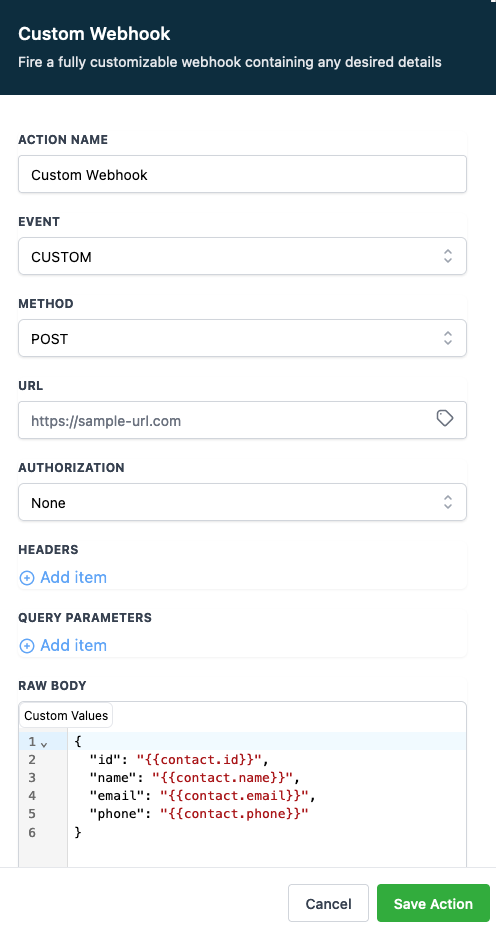
1. Specify the Destination URL
Within the Custom Webhook action settings in your workflow, you will find a field to enter the full web address (URL) of the external service you want to communicate with. This is the endpoint that will receive the data from your CRM. Ensure you enter the complete and accurate URL provided by the external service.
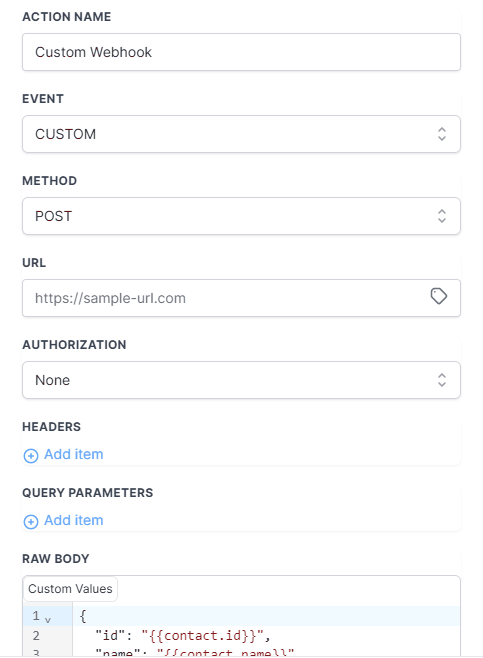
2. Choose an HTTP Method
Select the HTTP request method that matches the operation you need to perform on the external service. Common methods include:
- POST: Typically used to send or create new data.
- GET: Used to retrieve information.
- PUT: Often used to update existing data.
- DELETE: Used to remove data.
Consult the external service's API documentation to determine the correct method for your use case.
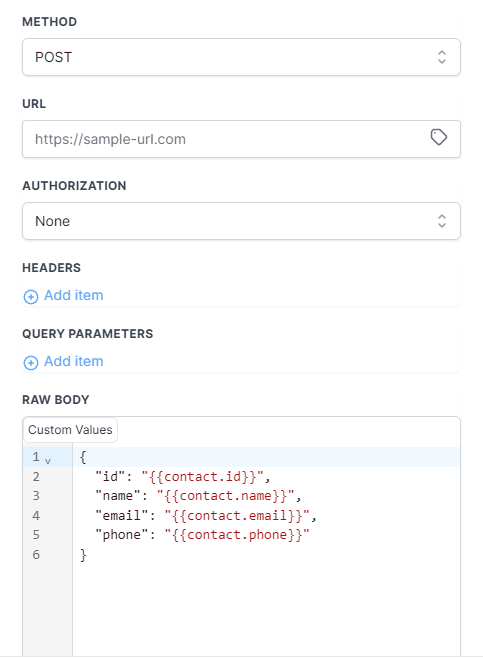
3. Configure Authorization
If the external service requires authentication to accept your request, you must configure it here. The action supports common authorization types such as API keys or Bearer tokens. Select the appropriate method from the dropdown and provide the required credentials (like a key or token value) in the fields that appear. This ensures your CRM can securely connect to the external API.
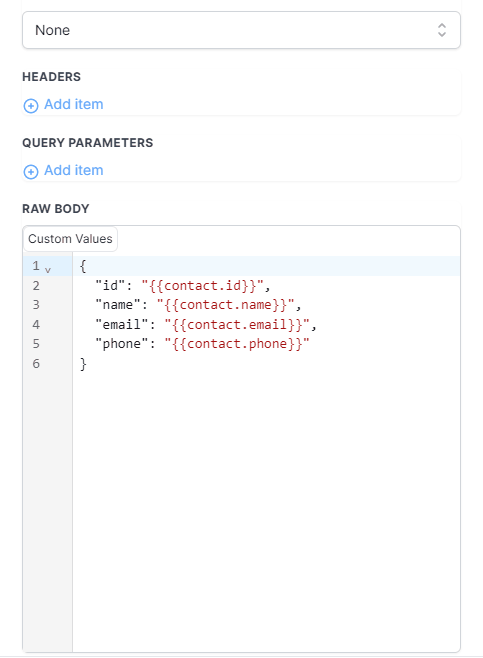
4. Set Headers and Query Parameters
You can further customize the request using headers and query parameters.
- Headers: Add key-value pairs to provide metadata about the request, such as specifying the content type (e.g.,
application/json). - Query Parameters: Append parameters directly to the URL. These are often used for filtering, searching, or providing optional instructions to the API.
Add each item as a new key-value pair in the respective sections of the action settings.
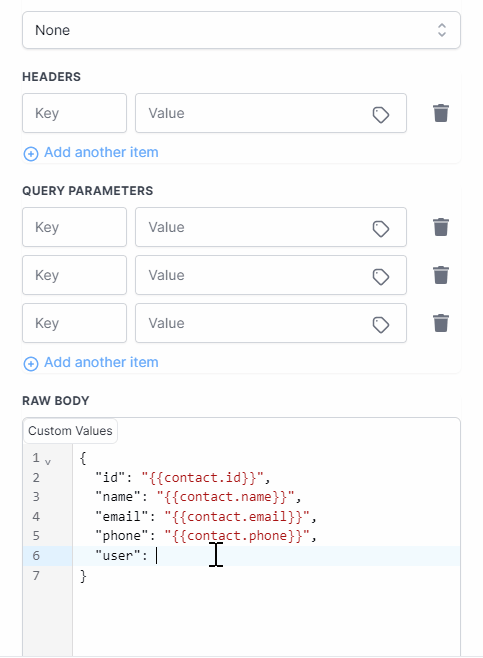
5. Map the Request Body Data
This is where you define the actual data to send. In the request body section, you can structure the information (often in JSON format) that will be transmitted. The interface provides an autocomplete feature to help you insert dynamic values from the contact record or workflow, such as {{contact.email}} or {{contact.first_name}}. Build your data structure to match exactly what the external API expects to receive.
Important Considerations for Reliable Execution
- API Response is Key: The workflow action's success depends entirely on receiving a successful response from the external API. If the API returns an error, the workflow action will be marked as failed. The workflow may then skip the action or retry it according to its retry settings.
- Respect Server Limits: Ensure the receiving server can handle the volume of requests your workflow will generate. If you add many contacts to a workflow quickly, you might overwhelm the external service, leading to errors from rate limits or server timeouts. Plan your workflow additions with the external service's capacity in mind.
After configuring all settings, save the action and test your workflow. A successful test will send the configured data to your external URL and proceed to the next step in the workflow.