How to Add Category
How to Add a Blog Category
Categories are essential for organizing your blog content. They help visitors browse and find posts on related topics, improving the overall user experience. Before you can assign a category to a blog post, you must first create it within your CRM's blog settings.
Accessing Category Settings
To begin, navigate to the blog section of your CRM. Locate the area where you manage your blogs or blog posts. You will typically find a settings option, often represented by a gear icon, near the controls for creating new posts. This is where you manage categories, authors, and other blog-related settings.
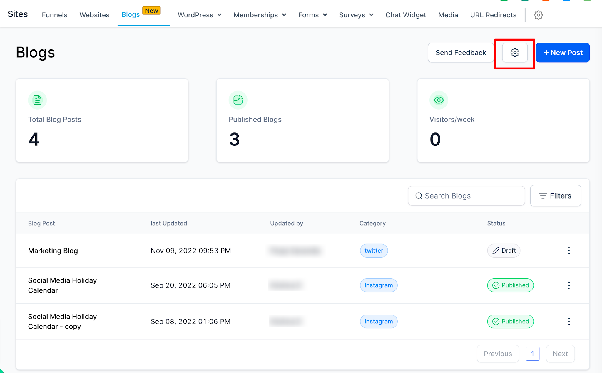
Creating a New Category
Once in the blog settings, find the section dedicated to categories. You should see an interface to add a new category. You will need to provide at least a name for your new category. Some systems may also allow you to add a description or upload a representative image.
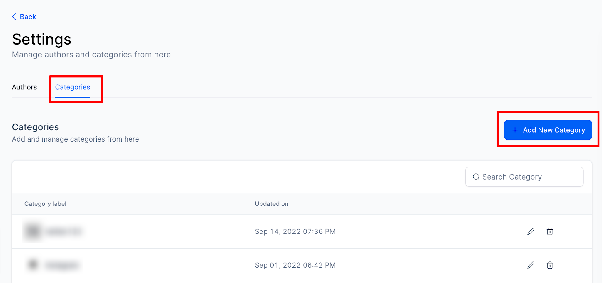
After entering the category name and any other optional details, save your new category. It will then be added to your list and become available for selection when you are writing or editing a blog post.
Important Limitations
Please note a critical restriction: Once a blog is published, certain details, including the category, keywords, author, and URL slug, cannot be edited. Always double-check these elements before publishing. The development team is aware of this limitation and is working on a future update.
Additionally, dedicated archive pages that list all posts within a specific category are a planned feature but are not currently available.
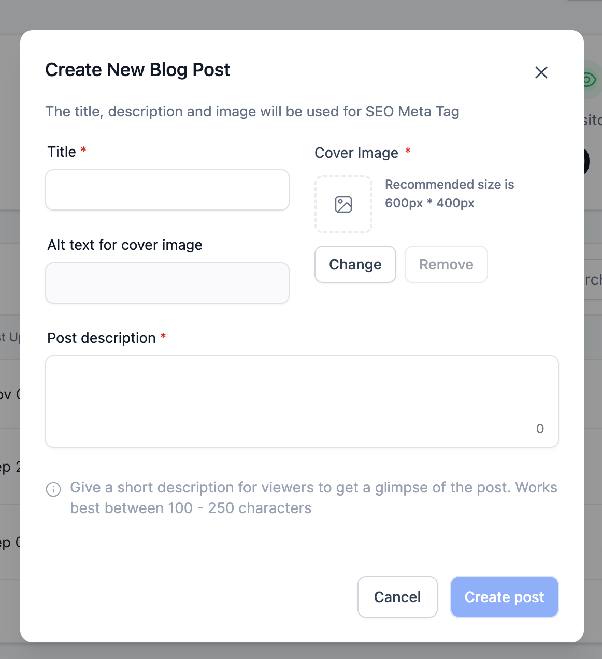
Note on Images: If you choose to add a category image, the maximum supported file size is 10MB.