Group Calendar Overview
Creating a Group Calendar
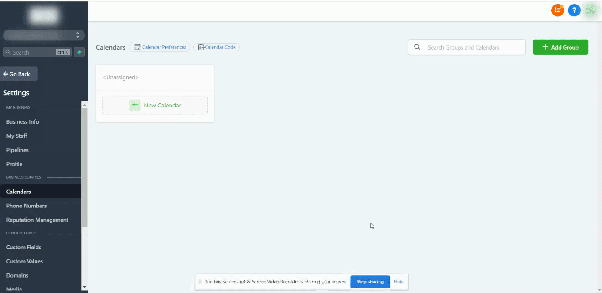
A group calendar allows you to organize multiple users and their availability in one shared calendar. To create one, navigate to your CRM's location settings and find the Calendars section.
Look for the option to add a new group, which is usually represented by a button like “+ Add Group” or similar. Click it to open the group creation form.
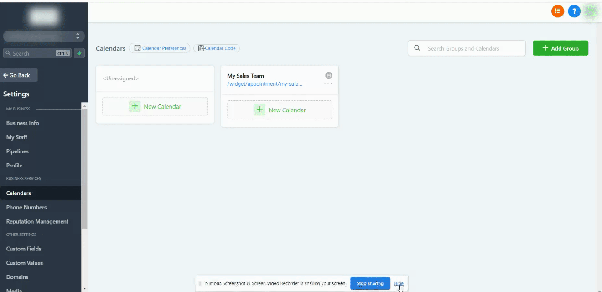
In the form, provide a name for your group, an optional description to clarify its purpose, and a URL-friendly slug if required. Once you’ve filled in the details, save the group to create it.
Adding Users to the Group Calendar
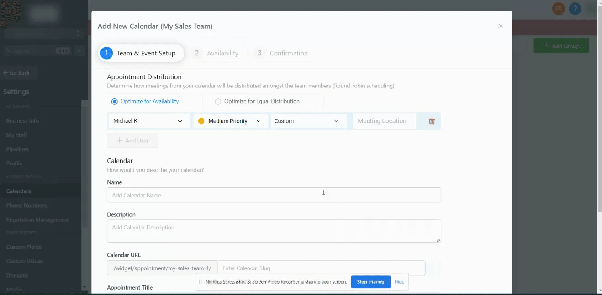
After creating a group calendar, the next step is to add users to it. Start by creating a new calendar or editing an existing one within the group.
Look for a section related to team or event setup, where you’ll find an option to add users. Click “+ Add User” or a similar button to select team members from your user list.
Assigning Users Within the Group Calendar
Once users are added, you can assign specific roles or permissions within the calendar. Proceed to the confirmation or assignment tab in the calendar setup.
Here, you’ll see a list of users with checkboxes or toggle options next to each. Select the appropriate boxes to assign calendar access, scheduling permissions, or other responsibilities based on your needs.